


.jpg)
.jpg)

How to tighten a door handle that moves?
A handle that loosens can cause a poor grip, squeaking and even damage the door. At Milla Handles, we always advise acting as soon as the play issue appears to extend the life of your door handles and ensure your comfort. In this article, you will discover a simple and effective method for tightening your handle without needing to call in a professional.
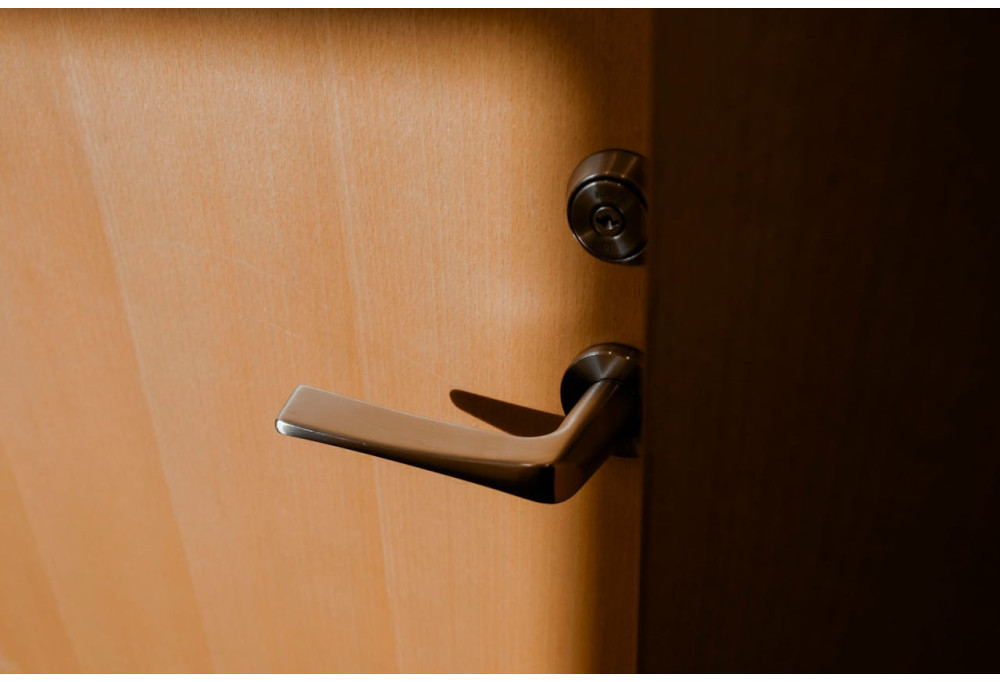
A handle that loosens can cause a poor grip, squeaking and even damage the door. At Milla Handles, we always advise acting as soon as the play issue appears to extend the life of your door handles and ensure your comfort. In this article, you will discover a simple and effective method for tightening your handle without needing to call in a professional.
What are the main causes of a loose door handle?
A handle generally loosens due to mechanical wear or loss of tension in the elements that make up the mechanism:
Loose fixing screws
With daily use, the rotations and applied pressure gradually release the initial clamping torque. The screws holding the rose or escutcheon undergo small oscillations with each rotation of the handle, creating micro-movements invisible to the naked eye. Over time, these movements accumulate, until the play becomes noticeable and the brass door handle starts to wobble.
Worn return spring
The return spring, often made of hardened steel, is designed to provide constant tension to return the handle to the neutral position after each action. Its repeated compression and extension cycle, combined with corrosion from ambient humidity, gradually weakens its elastic memory. An overly relaxed spring no longer provides sufficient pressure in its housing, resulting in slight play in the handle spindle.
Worn spindle (drive square) and follower
The spindle is the rigid intermediate element that transmits the movement of the handle to the lock. When it wears down, either through excessive friction or over-tightening, its edges become rounded and it no longer grips correctly in the follower, the metal piece that guides it. The result is a loose connection, where the handle can turn without immediately acting on the lock bolt.
Damaged washers or plates
Locking washers, often thin and metallic, serve to distribute clamping pressure and maintain the assembly without play. Under the effect of over-tightening or vibrations, they can deform, crack or fragment. A washer that is misaligned or worn no longer plays its role as a shim, leaving a free gap responsible for the handle movement.
What tools and preparation are needed?
Prepare your workspace to improve efficiency and safety. Ensure good lighting, using natural or supplementary light, to better distinguish each component. Gather the tools and check that you have all the replacement parts before starting the work, in particular:
- Cross-head screwdriver (PH2) and flat-head screwdriver (2.5 mm) for the majority of screws.
- Allen key (sizes 3, 4 and 5 mm) for grub screws that are often concealed.
- Flat-nose pliers, for handling the return spring without deforming it.
- Assortment of spare washers and springs (ø 6 to 10 mm) to replace overly worn parts.
- Dry graphite-based lubricant, to maintain smooth mechanism operation without attracting dust.
- Soft cloth and thin gloves, to preserve the handle finish and avoid fingerprints.
Make sure you have a container or small tray within reach to place the screws and removed parts in, so that nothing gets lost.
How to effectively tighten a door handle?
A methodical organisation optimises the safety and efficiency of the work, minimising losses and unforeseen issues.
Fixing system diagnosis
Carefully inspect the door on both sides. Look for visible through-bolts or small holes indicating concealed grub screws. This step determines the type of tooling and access method required.

Removal of rose covers
For clip models, carefully insert the blade of a flat-head screwdriver between the rose and the door. Then, gently lever it to unclip it without damaging the surface. For pin-operated devices, locate the dedicated hole, insert a straightened paperclip and push to eject the cover.
Cleaning and preparation
Once the fixings are visible, remove dust and debris using a fine brush or a gentle puff of air. These particles, even when invisible, can prevent optimal tightening and cause the fitting to loosen again if they remain trapped.
Tightening the screws
Start with the through-bolts. Hold the screwdriver perpendicular and apply a moderate torque until the play disappears. Then move on to the grub screws by inserting the Allen key and making small successive turns. Be sure to alternate between manual and visual checks of the tightening.
Spring and spindle maintenance
Removing the drive spindle gives you access to the spring. If it is deformed, straighten it by hand or replace it with a new one. Apply a light dusting of graphite at its base to facilitate its return without accumulation of dirt.
Reassembly and testing
Reinsert the spindle until it clicks into place. Then reclip the rose, checking it engages evenly. Carry out ten full opening and closing cycles to ensure there is no play and that operation is smooth.
What are the solutions for special handle cases?
Some handle configurations require more technical solutions or specific parts for a lasting result.

Handles with no visible screws
For highly design models, the cover is held in place by a hidden clip system. Look for a small concealed tab at the back of the rose. Using a thin blade, gently lift this pressure point to detach the cover without scratching the finish.
Significant spindle wear
When the spindle moves in its housing, you can fill the gap with gel epoxy adhesive, applied around the shaft. Leave it to harden according to the manufacturer's instructions before retightening. If the problem persists, consider purchasing a maintenance kit that replaces the entire mechanism for a perfect fit.
Replacement of parts
Always choose suitable parts. To do this, precisely measure the diameter (6–8 mm) and the length of the spring, as well as the spindle section (8×8 mm or 9×9 mm). Opt for certified components to avoid any subsequent play and ensure compatibility with your lock.
Preventive maintenance tips
To maintain the stability of your handle, plan a full check twice a year. Take the opportunity to clean the surface with a damp microfibre cloth and a gentle product, free from corrosive agents. Then apply a thin layer of dry lubricant to the moving areas, particularly around the spindle and spring, before wiping away the excess. Finally, fit a door stop to limit heavy impacts when opening. This small accessory helps reduce wear on the ironmongery and extend the life of your installation.
To discover our full range of handles and accessories, visit milla handles and benefit from personalised advice to equip your interior.
Comments
No comments yet!
Leave your comment