


.jpg)
.jpg)

How to Install a Door Handle?
Successfully install your door handles or knobs with brilliance!
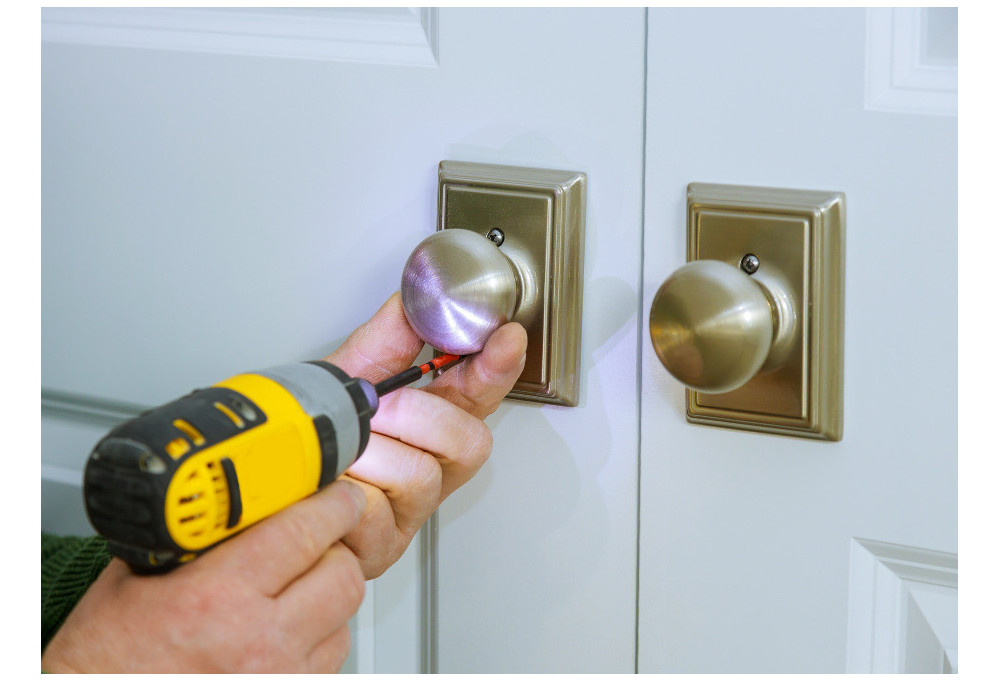
Successfully install your door handles or knobs with brilliance!
Are you considering changing the handles or knobs on your doors to give your décor a fresh look? You are right, as these small elements can make all the difference in the style and comfort of your space. But how do you install them correctly, without damaging your doors or making life difficult for yourself? In this article, we give you some practical tips to successfully install door handles or knobs, whether for a new door or an existing door. You will see how to choose the right materials, how to take measurements, how to drill holes, and how to fix handles or knobs securely and aesthetically. Follow the guide!
The different types of door handles and knobs
Before starting the installation, you must first choose the type of handle or knob you wish to fit. There are indeed several models, which differ in their shape, material, colour, price and fixing method. Here are the main types of door handles or knobs:
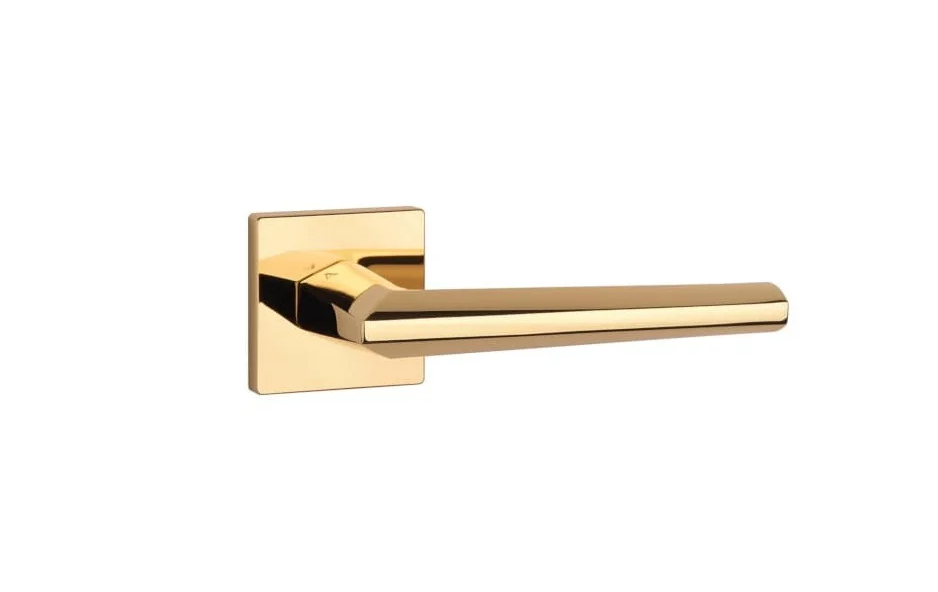
- The lever handle: this is the most common type. It consists of a rectangular plate fixed to the door and a curved metal rod (the lever) which operates the opening mechanism. It is easy to use and offers good grip comfort. It can be made of brass, steel, aluminium, wood or plastic. Its price varies according to the quality and design of the product.
- The door knob: this is a simpler and more economical alternative to the lever handle. It consists of a round disc fixed to the door which is used to push or pull the door. It can be made of metal, wood, ceramic or glass. It is less practical than the lever handle as it requires more effort to open the door and can be slippery if hands are wet.
- The rosette handle: this is a variant of the lever handle. It consists of a circular rosette fixed to the door and a lever that extends from the centre of the rosette. It is more aesthetically pleasing than the plate handle as it conceals the opening mechanism and allows you to play with contrasts between the colour of the rosette and that of the lever. It can be made of metal, wood or plastic. Its price is generally higher than that of the plate handle.
- The keyed handle: this is a handle that incorporates a key locking system. It can be a lever, knob or rosette type. It is useful for securing bedroom or bathroom doors, but requires always having the key on hand to open the door. It can be made of metal, wood or plastic. Its price depends on the type of lock and level of security.
How to choose the model suited to your style and budget?
To choose the door handle model that suits your needs, you must consider several criteria:
- Style: the handle or knob must match the style of your door and interior décor. You can opt for a classic, modern, vintage, designer or original model according to your taste. You can also play with colours and materials to create interesting visual effects.
- Budget: the handle or knob must fit within your budget. You can find affordable models starting from £5 up to premium models at over £100. The price depends on the material, design, fixing method and locking system. You must also factor in the cost of screws, wall plugs and tools required for installation.
- Compatibility: the handle or knob must be compatible with your door. You must check the thickness, width and opening direction of your door, as well as the type of lock and diameter of the existing hole. You must also measure the fixing centres, which is the distance between the two fixing holes of the handle or knob. There are universal handles or knobs that adapt to all types of doors, but it is preferable to choose a specific model to avoid unpleasant surprises.
Prepare the necessary materials and take measurements correctly
Once you have chosen the handle or door knob you wish to install, you need to prepare the necessary materials and take measurements correctly. Here is the list of materials you will need:
- An electric drill with bits suitable for your door material (wood, metal, PVC...)
- A flat or crosshead screwdriver depending on the type of screw
- A tape measure or ruler
- A pencil
- A spirit level
- Wire cutters
- A craft knife
- A file
- A cloth
- Screws and wall plugs suitable for the handle or knob model and the thickness of your door
- Protective gloves
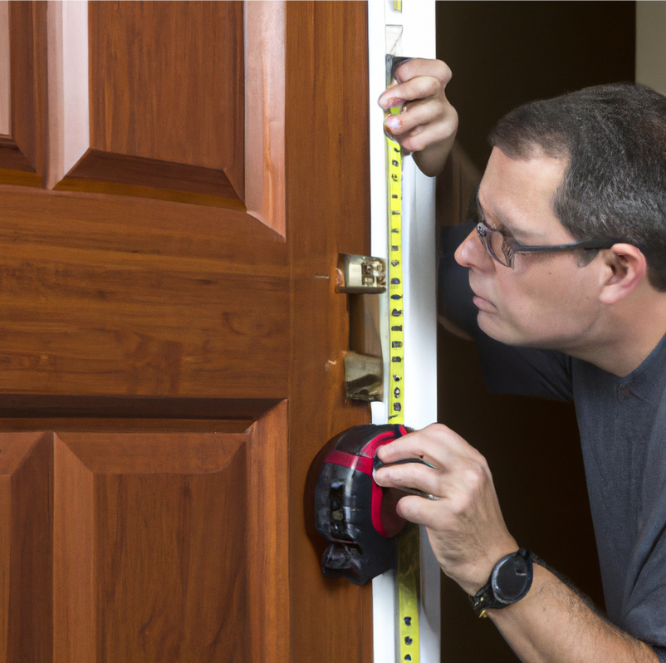
Here are the steps to follow to take measurements correctly:
If you are replacing an old handle or knob, you should first remove the old model by unscrewing the screws and removing the plates or rosettes. You can then use the same holes to fix the new model, checking that the fixing centres and diameter are compatible. If not, fill the old holes with mastic or wood and drill new holes.
If you are installing a new handle or knob on a plain door, first mark the location of the holes to be drilled. To do this, ensure you respect the standard height which is 105 cm from the floor to the centre of the handle or knob. You should also respect the door's opening direction and place the handle or knob on the side opposite the hinges. You can then draw a horizontal line at the chosen height and transfer the model's fixing centres onto the line. You can also use a template supplied with the handle or knob to make marking easier. Next, check that the marks are properly aligned and perpendicular to the edge of the door using a spirit level.
If your door handle or knob has a key locking system, you should also mark the location of the hole for the cylinder. To do this, measure the distance between the centre of the handle or knob and the centre of the cylinder, which is typically 7 cm. Then, transfer this distance onto the horizontal line and mark the centre of the hole with a pencil.
Steps to follow to install door handles or knobs
After preparing the materials and taking measurements, you can proceed with installing the handles or door knobs for your space. Here are some steps to follow:
- Drill the holes at the marked locations using the electric drill and appropriate bit. Be careful not to drill too deep or overshoot on the sides. If your door is hollow, you can insert wall plugs into the holes to reinforce the fixing.
- Screw the plates or rosettes onto the door using the screwdriver and screws provided. Ensure that the plates or rosettes are properly centred and horizontal.
- Insert the levers or door knobs into the holes in the plates or rosettes and secure them with the screws provided. Ensure that the levers or knobs are properly aligned and parallel to the edge of the door.
- If your handle or knob has a key locking system, insert the cylinder into the hole provided for this purpose and secure it with the screw supplied. Ensure that the cylinder is properly centred and vertical.
- Test the proper functioning of your handle: once installation is complete, carry out tests to guarantee operational quality. Manipulate the handles or knobs with confidence, check alignment, and ensure that any locking mechanism responds smoothly. This final phase confirms that each component is in place and functions harmoniously. This ensures not only an optimal user experience but also the durability of your installation over the long term.
In short, each step in the installation of door handles or knobs is of paramount importance to achieve an impeccable result. From choosing the tools to installation. By prioritising precision and incorporating design tips, you ensure not only flawless functionality but also an aesthetic that enhances your space.
So, ready to transform your doors? Explore our range of designer handles and door knobs on our online shop!
Comments
No comments yet!
Leave your comment