


.jpg)
.jpg)

The 5 Mistakes to Avoid When Installing a Door Handle
Avoid these pitfalls when installing your door handle!
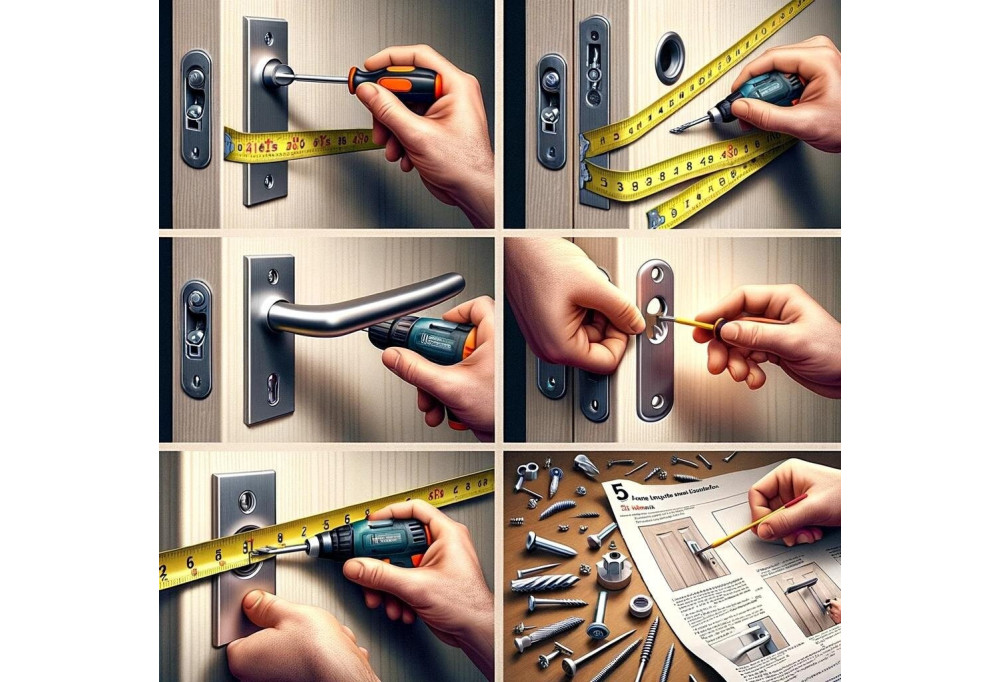
Avoid these pitfalls when installing your door handle!
You want to change your door handle, but you don't know how to go about it? Be careful, this task is not as easy as it seems. There are indeed 5 common mistakes that can compromise the proper functioning of your handle or damage your door. We reveal them in the following lines, along with solutions to avoid them. Follow the guide and learn to choose the right equipment, take the right measurements, drill and correctly fix your door handle.
Mistake 1: Choosing a door handle unsuitable for the door or the room's style
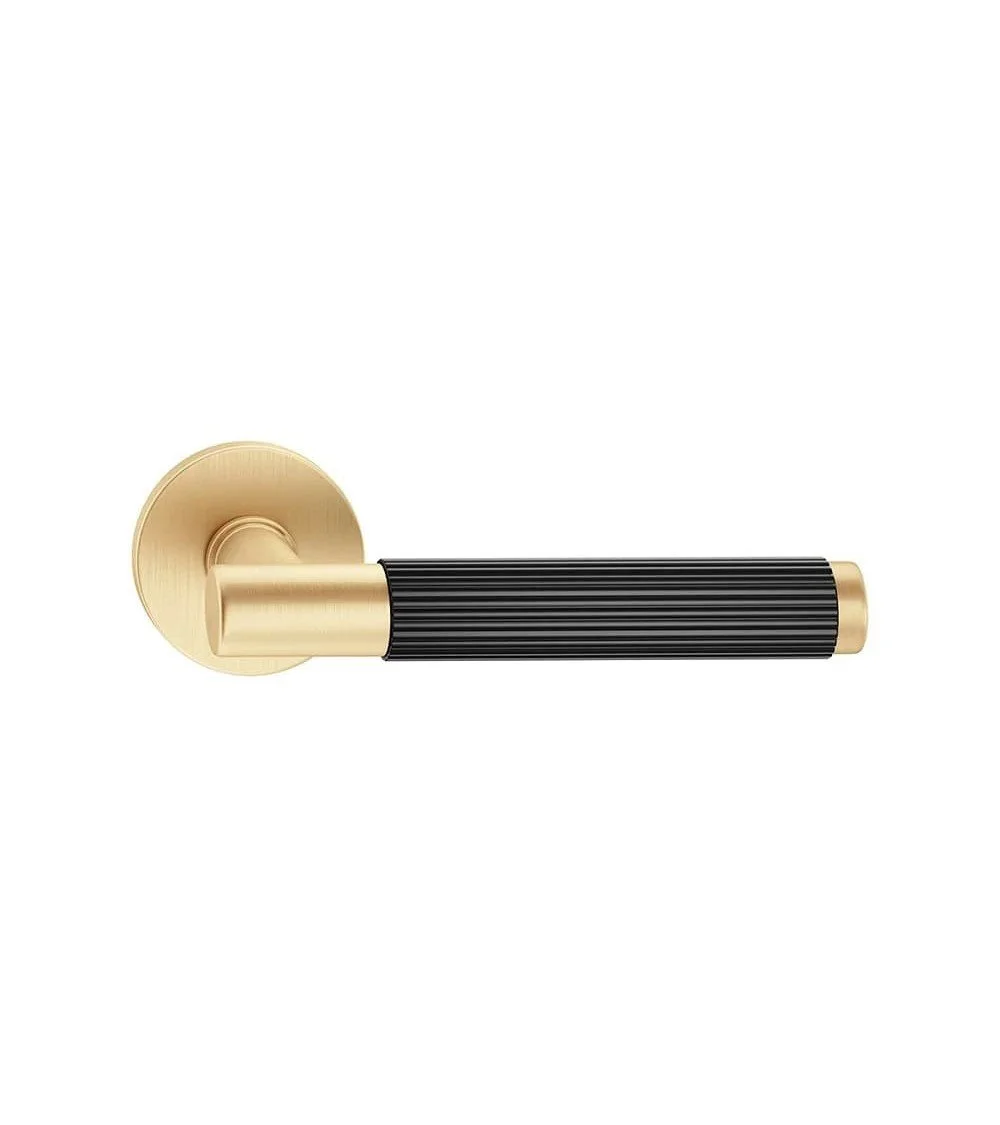
The first mistake to avoid is choosing a door handle that does not match the door on which it will be installed, or that does not harmonise with the room's style. There are indeed different types of door handles, which differ by their material, shape, colour, finish, etc. These criteria must therefore be taken into account to choose the most suitable door handle.
The material of the door handle must be compatible with that of the door. For example, if the door is made of wood, metal handles should be avoided as they can damage the wood or create too much contrast. A material that resists wear and corrosion should also be chosen, especially if the handle is intended for an exterior door.
The shape of the door handle should be ergonomic and easy to manipulate. There are round, oval, square, rectangular handles, etc. Choose the shape that best suits the size and shape of the hand, as well as the force needed to open or close the door.
The colour of the door handle should match that of the door and the room's decor. Avoid colours that are too bright or too dark that may clash with the whole. The overall style of the room should also be considered: for example, for a modern and minimalist room, it is better to opt for a simple and discreet door handle, whilst for a rustic or vintage room, it is better to choose a more original and ornate door handle.
The finish of the door handle should be adapted to the use and maintenance desired. There are glossy, matt, satin, chrome, gold finishes, etc. Choose the finish that best corresponds to the desired result, but also to ease of maintenance. For example, glossy finishes are more susceptible to fingerprints and scratches than matt finishes.
To choose your door handle properly, it is advisable to visit a specialist shop or dedicated website, where you can compare different models and benefit from professional advice.
Mistake 2: Not correctly measuring the distance between the edge of the door and the centre of the hole
The second mistake to avoid is not correctly measuring the distance between the edge of the door and the centre of the hole where the handle will be fixed. This distance is called the centre-to-centre distance, and it is generally standardised at 165 mm or 195 mm depending on the models. If this measurement is not respected, there is a risk of adjustment or aesthetic problems.
To correctly measure the centre-to-centre distance, use a tape measure or graduated ruler, and mark the central point of the hole with a pencil or nail. Then measure the distance between this point and the edge of the door, checking that you obtain the same result on both sides. If not, adjust the central point of the hole until an identical measurement is obtained.
If installing a door handle on an already drilled door, check that the centre-to-centre distance corresponds to that of the handle you wish to fit. If not, either choose another handle with the correct dimension, or fill in the existing holes and drill new ones.
Mistake 3: Drilling the hole without marking the reference point beforehand
The third mistake to avoid is drilling the hole without marking the reference point beforehand. Indeed, if you drill the hole blindly, you risk getting the positioning wrong or damaging the door. It is therefore essential to mark the exact point where you will drill the hole, using a pencil or a nail.
To mark the reference point, you must first determine the height at which you want to install the handle. There is no universal rule, but you can base it on the average eye height, which is approximately 1.60 m. Then transfer this height onto the door, drawing a horizontal line with a spirit level. Then measure the centre-to-centre distance between the edge of the door and the centre of the hole, as explained previously, and draw a vertical line that crosses the horizontal line at the central point of the hole. Finally, mark this point with a pencil or nail, pressing lightly to create a small depression that will serve as a guide for the drill.
To drill the hole, use a drill fitted with a bit adapted to the diameter of the handle and the material of the door. Place the tip of the bit in the depression marked with a pencil or nail, and drill slowly and steadily, checking that you remain perpendicular to the door. Drill until you completely penetrate the door, then repeat the operation on the other side.
Mistake 4: Screwing in the door handle without checking its alignment
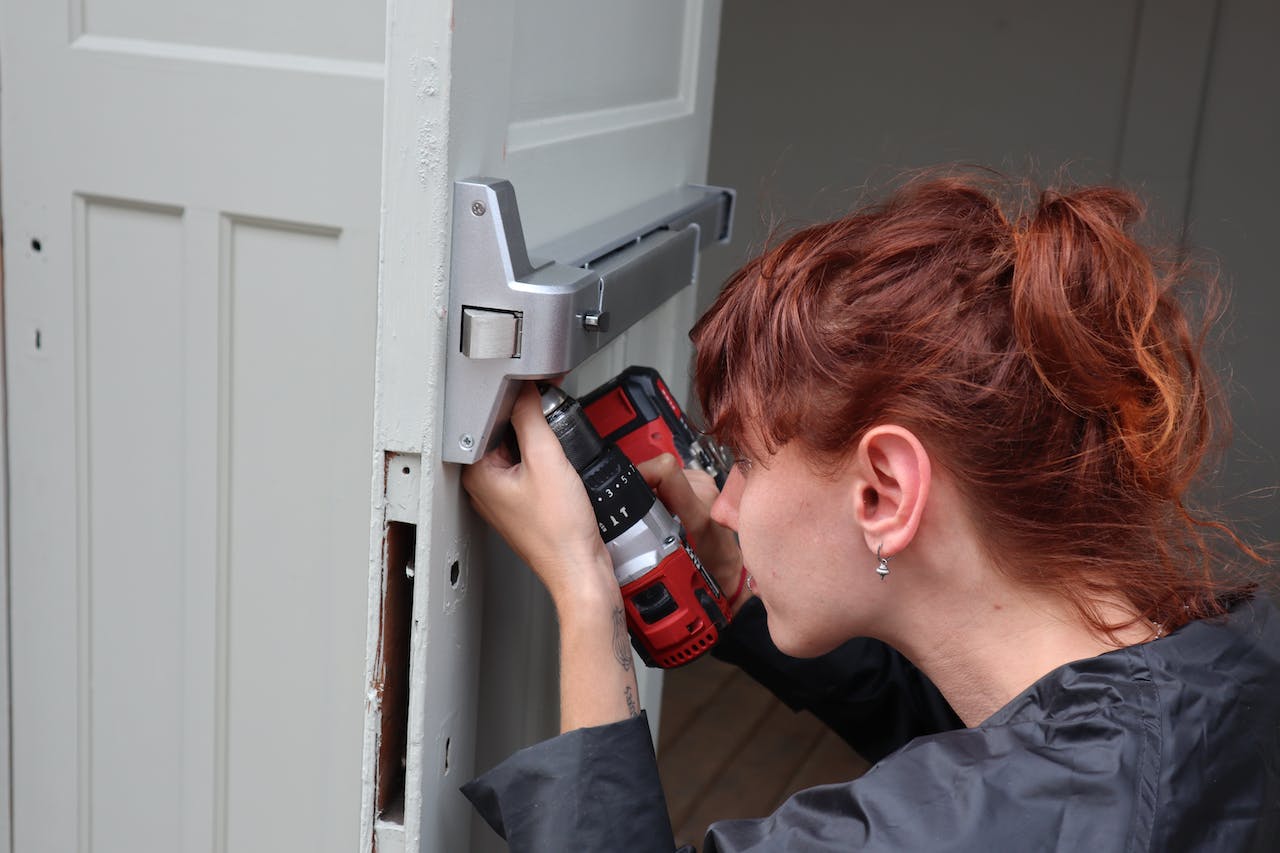
The fourth mistake to avoid is screwing in the door handle without checking its alignment. Indeed, if you screw in the handle without ensuring that it is straight and symmetrical, you risk having a handle that leans or is not centred. This can affect both the operation and aesthetics of the handle.
To screw in the door handle, you need to use a screwdriver adapted to the type and size of the screws supplied with the handle. Insert the screws into the holes drilled in the door, and screw them in slightly without tightening them completely. Then check that the handle is properly aligned, using a spirit level or by eye. If it is not, adjust the position of the handle by unscrewing or re-screwing the screws until perfect alignment is achieved. Then tighten the screws fully, without forcing to avoid damaging the thread or the screw heads.
Mistake 5: Forgetting to test the door handle's operation before completing the installation
The fifth mistake to avoid is forgetting to test the door handle's operation before completing the installation. Indeed, if you do not check that the handle opens and closes correctly, that it does not creak, that it does not jam, etc., you risk unpleasant surprises later. It is therefore important to test the handle's operation before putting away your tools and admiring your work.
To test the handle's operation, open and close the door several times, observing the movement and noise of the handle. Check that the handle turns easily and without resistance, that the latch engages and disengages correctly in the strike plate, that the lock works if present, that the handle does not creak, and that the whole provides a smooth user experience.
It is also essential to ensure that the key inserts easily, that the rotation is smooth and that locking and unlocking are done without difficulty. This step guarantees the full functionality of the security device integrated into the door handle.
In this video, you will also find some tips to avoid common problems and successfully install your door handle.
The process of installing a door handle is not simply about aesthetic choice. Choose a handle suited to your door and the style of your space, ensure perfect alignment during fixing, and above all, do not omit the final operation test. By following this advice, you ensure not only the longevity of your installation but also a seamless daily experience. Thus, you can admire your door with the certainty that it is secure, aesthetic and perfectly functional.
Comments
No comments yet!
Leave your comment