


.jpg)
.jpg)

Practical Tips for Installing the Rosette After Fixing the Door Handle
Install the door rosette with complete ease!
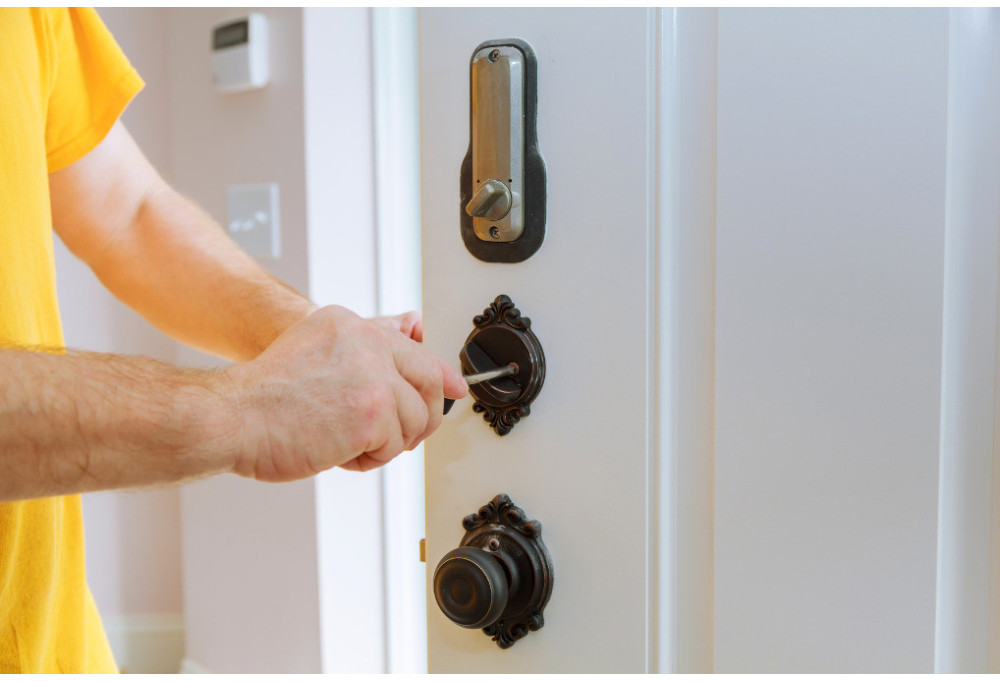
Install the door rosette with complete ease!
In the quest for a perfectly equipped door, the installation of a handle is an essential step. However, to perfect the aesthetics and functionality, knowing how to install a rosette after fixing the door handle is an art in itself. This article reveals practical tips aimed at optimising this process to guide you through each step with precision. Discover how to choose the right materials, prepare the workspace judiciously, and master the fixing techniques to achieve a successful rosette installation.
Preparation of materials and workspace
The success of installing door handle rosettes largely depends on meticulous preparation of the materials and workspace. To do this, it is imperative to have adequate tools, carefully selected to guarantee efficient installation.
1. Screwdriver suitable for the type of screw on the rosette
Choosing the right screwdriver is essential for a solid fixing of the rosette. Opt for a screwdriver compatible with the type of screw on the rosette, whether Phillips head, flat head or hexagonal head screws. A quality screwdriver will facilitate the installation process and reduce the risk of damage.
2. Drilling template to ensure precision
A precise drilling template is a secret weapon when it comes to guaranteeing the accuracy of the holes necessary for installing the rosette, whether with key I, L, or privacy function. This tool allows optimal positioning to avoid any unwanted offset. Simply fix it in place and follow the markers for impeccable results.
3. Spirit level for perfect alignment
Perfect alignment enables an installation that is not only pleasing to the eye but also functional. Using a spirit level allows you to check horizontality and verticality to ensure the rosette will be installed in a balanced manner. This simple tool contributes to the professional appearance of the final result.
Preparation of the workspace is equally important. Before starting the installation, mark precisely the locations of the handle and rosette. Use a carpenter's pencil for clear and visible markers. Additionally, protect surrounding surfaces by applying painter's masking tape. This helps prevent any risk of unwanted scratches or stains.
The technique for fixing the door handle rosette with precision
Ensuring a solid fixing of the interior door rosette requires a meticulous approach, starting with the choice of screws suitable for the door material. Opt for screws according to the type of door, whether wood, metal or PVC. The screws must be robust enough to guarantee lasting hold whilst preserving the integrity of the door. For example, countersunk screws may be ideal for an aesthetic result on a wooden door.
It is equally crucial to consider the appropriate screw length. Screws that are too short compromise the stability of the rosette, whilst screws that are too long can damage the door. To illustrate, if the door is solid wood, screws of a length slightly greater than the thickness of the door are preferable for a firm grip without protruding from the other side.
Let's now move on to the detailed steps for fixing the rosette once you have fitted the handle. To guarantee precise positioning, use a drilling template. This will allow you to accurately mark the screw locations for symmetrical installation. You can, for example, use visual markers on the template to align the rosette with the handle in an aesthetic and functional manner.
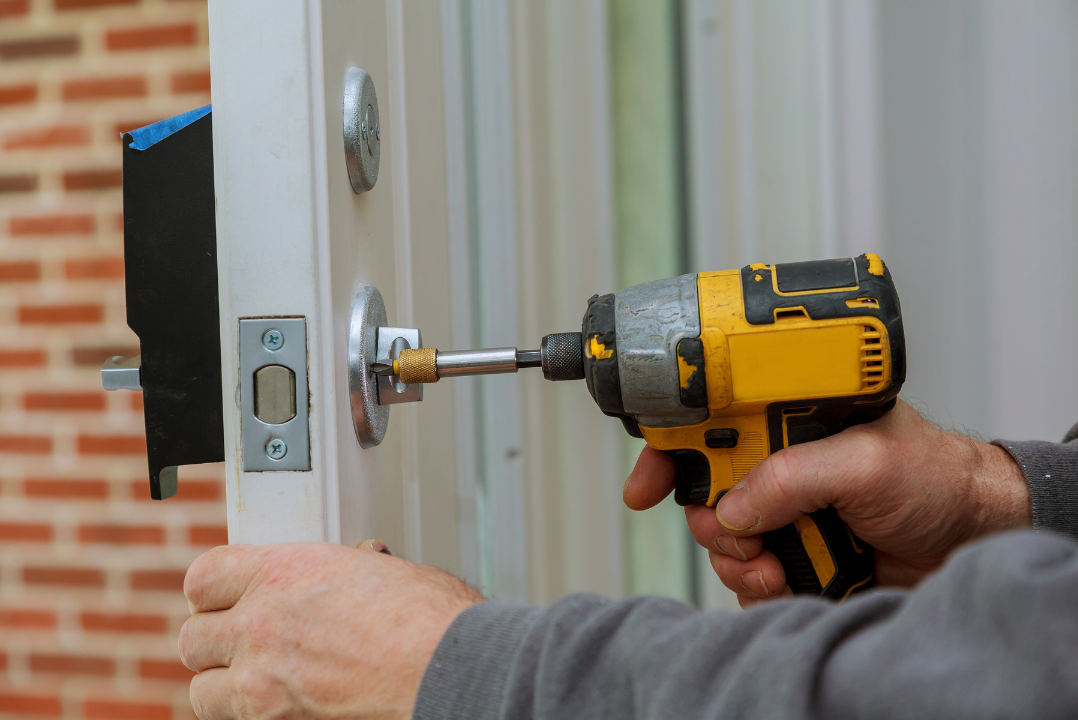
Once the locations are marked, the use of a torque wrench proves necessary. This tool allows you to control the tightening of the screws with optimal precision to avoid any risk of over-tightening or under-tightening. Also consider adjusting the torque wrench according to the manufacturer's recommendations to ensure perfectly balanced fixing.
Finishing and verification
After investing time and effort in installing the door handle, perfecting the finish and carrying out a thorough inspection are the final steps to ensure the success of your project.
Tips for an aesthetic finish
When it comes to fixing the rosette after installing the door handle, the aesthetic aspect must not be neglected. Opt for a finish that blends harmoniously with the style of your door. Choosing the appropriate colour and material is essential to create a uniform appearance. For example, if your door has brass accents, a matching rosette can be a good choice. The same applies to wooden doors where a rosette matching the wood grain offers a more natural finish.
For example, you can choose a brushed stainless steel rosette for a modern glass door. This combination creates an attractive visual contrast, adding a contemporary aspect to the space.
It is also crucial to pay attention to details after the installation process. Meticulous cleaning of drilling residue and dust is necessary. Use a soft cloth and vacuum cleaner to remove all traces of dirt. This not only ensures an impeccable finish but also extends the lifespan of your door hardware.

Thorough verification of functionality
After fixing the rosette, it is imperative to ensure that the handle functions optimally. To do this, test the smooth rotation of the handle. Ensure there is no friction or jamming, which could compromise ease of daily use. A practical example would be to turn the handle in both directions, checking each movement to detect any potential problems.
Checking the stability of the rosette after fixing is equally important. A poorly fixed rosette could cause vibrations or unwanted play. Test the solidity by applying light pressure from top to bottom on the rosette. The absence of movement indicates successful fixing.
By applying these tips, you ensure a beautiful finish and optimal functionality of your hardware. Don't hesitate to discover our collection of designer door handles to enhance your space. Transform your installation project into a carefully crafted achievement that adds elegance to your interior!
Comments
No comments yet!
Leave your comment