


.jpg)
.jpg)

How to correctly install a door handle?
Easily install your new door handle. Practical fitting tips and tricks.
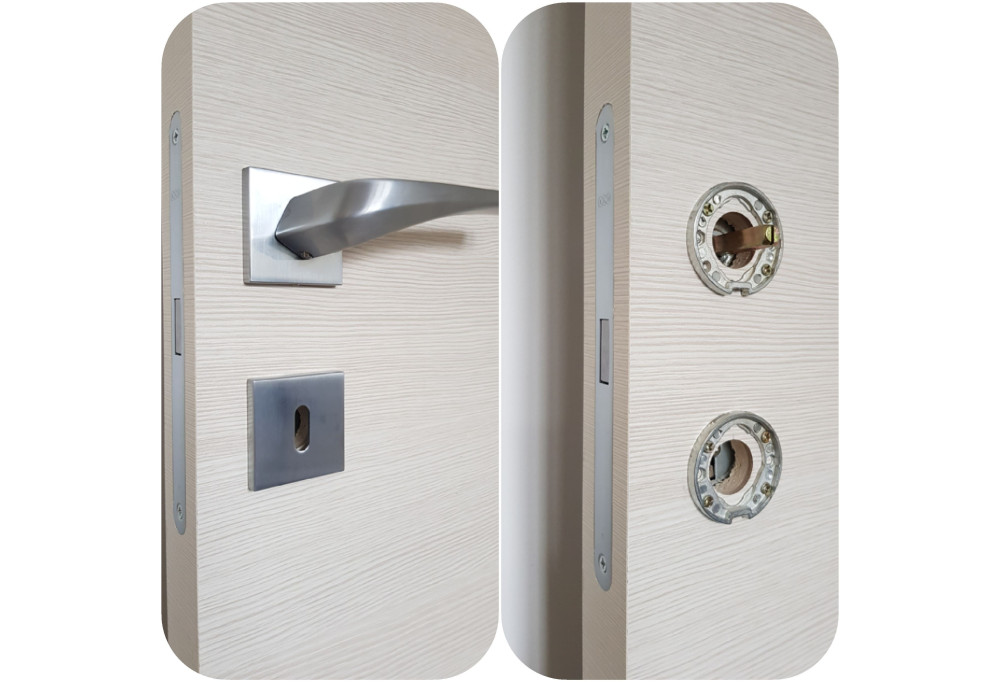
Easily install your new door handle. Practical fitting tips and tricks.
Welcome to our blog dedicated to DIY and interior decoration enthusiasts! Have you recently purchased new designer handles and are wondering how to install them easily without the help of a professional? Don't worry, we're here to guide you step by step through this adventure! In this article, we will present you with tips and tricks for a successful handle installation.
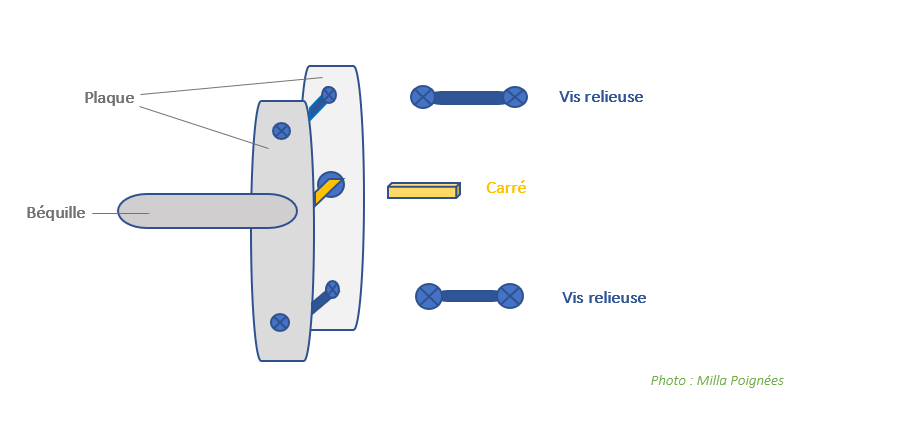
The designer door handles from Milla Poignées can be installed by yourself without the help of a locksmith specialist. We provide you with the steps to follow to avoid any inconvenience. It is important to follow the steps carefully. All our interior handles are supplied with their installation kit, which includes 4 mounting adapters for handles and roses, an 8x8 mm square spindle, 4 through bolts, 2 Allen screws and a suitable 3 mm key.
Please note, for doors from large retailers a 7x7mm spindle is required! Let us know before placing your order. Drill 2 through holes with a diameter of 7.5 mm on both sides of the door, spaced 38 mm apart. Be careful, drill halfway through the door from one side, then from the other so that the openings meet in the middle. To mark the position of the holes, you can use a mounting template or a mounting rose fitted with a spindle stabilisation element (the square plastic piece inside the adapter). After preparing the holes, break off the spindle stabilisation element. Use the through bolts supplied with the interior door handles and screw the two mounting roses together. These elements must point the fixing tab downwards. Although not necessary, you can additionally stabilise the mounting roses with wood screws (not included in the kit).
Insert the 8x8mm (or 7x7mm) spindle into the lock, making sure to position it with the cut side facing downwards. On the adapter and the fitted spindle, place and push in the designer interior handle. The interior door handle must fit perfectly flush with the door. Fix the position of the modern handle and its spindle by screwing the two pieces together. In the case of interior roses, proceed in the same way as when fitting MILLAPoignees door handles. Here are some technical terms used in the field of door hardware and interior handles: interior latch, a fitting, hinges, a latch bolt, a fixed frame, a cylinder, a lock, the centre distance, a lever, roses and a return spring.
From now on, thanks to the original door handles, you will be able to bring out the full splendour of your doors. Thanks to their colour (black, white, gold…) they will not only be functional elements, but also a great decorative asset in their own right for your interiors as well as your exteriors.
Choosing a suitable handle
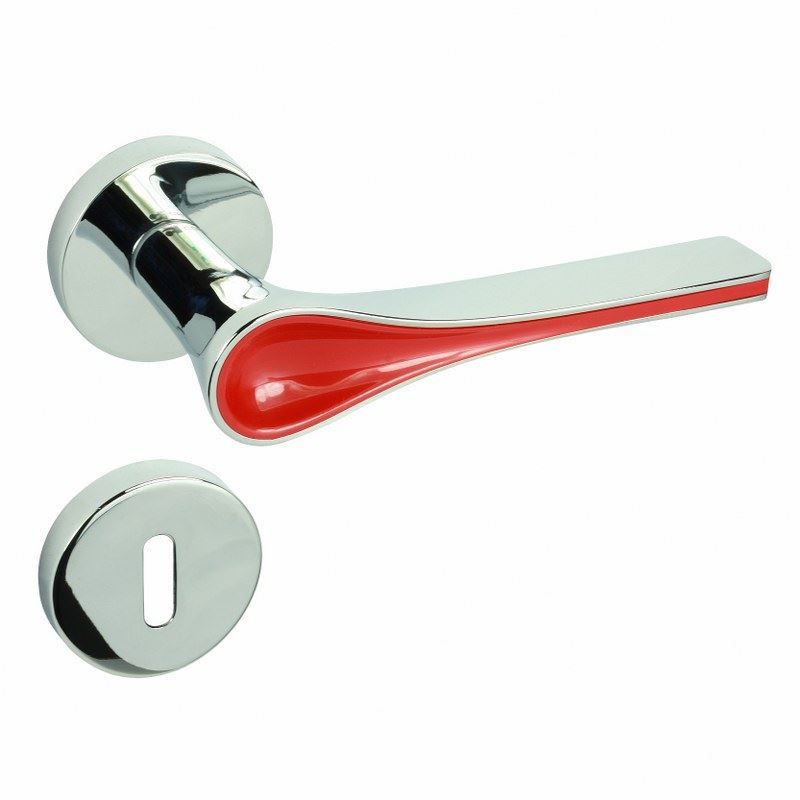
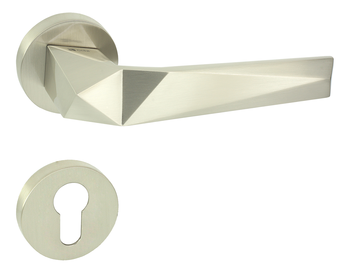
The step-by-step handle installation begins with choosing the right model suited to your interior. There are different types of interior handles, each with its own style and operation. Depending on your preferences and the type of door you wish to fit, you can opt for:
- a lever handle,
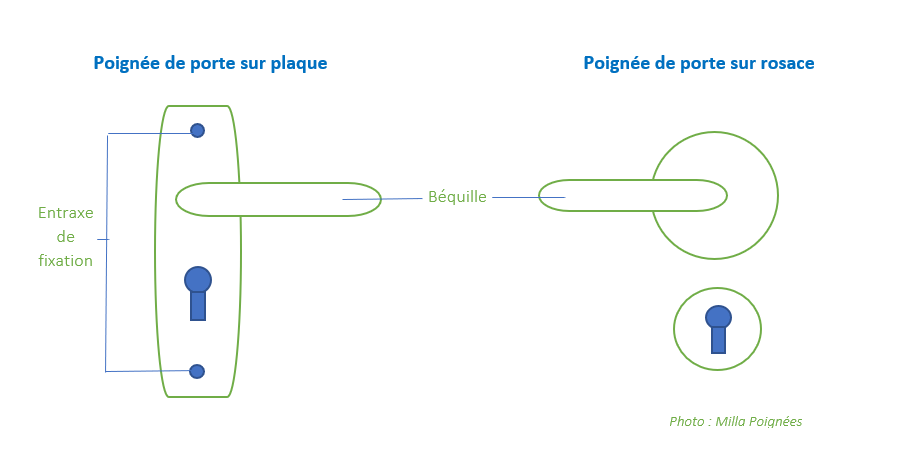
- a knob handle,

- a recessed handle for sliding door
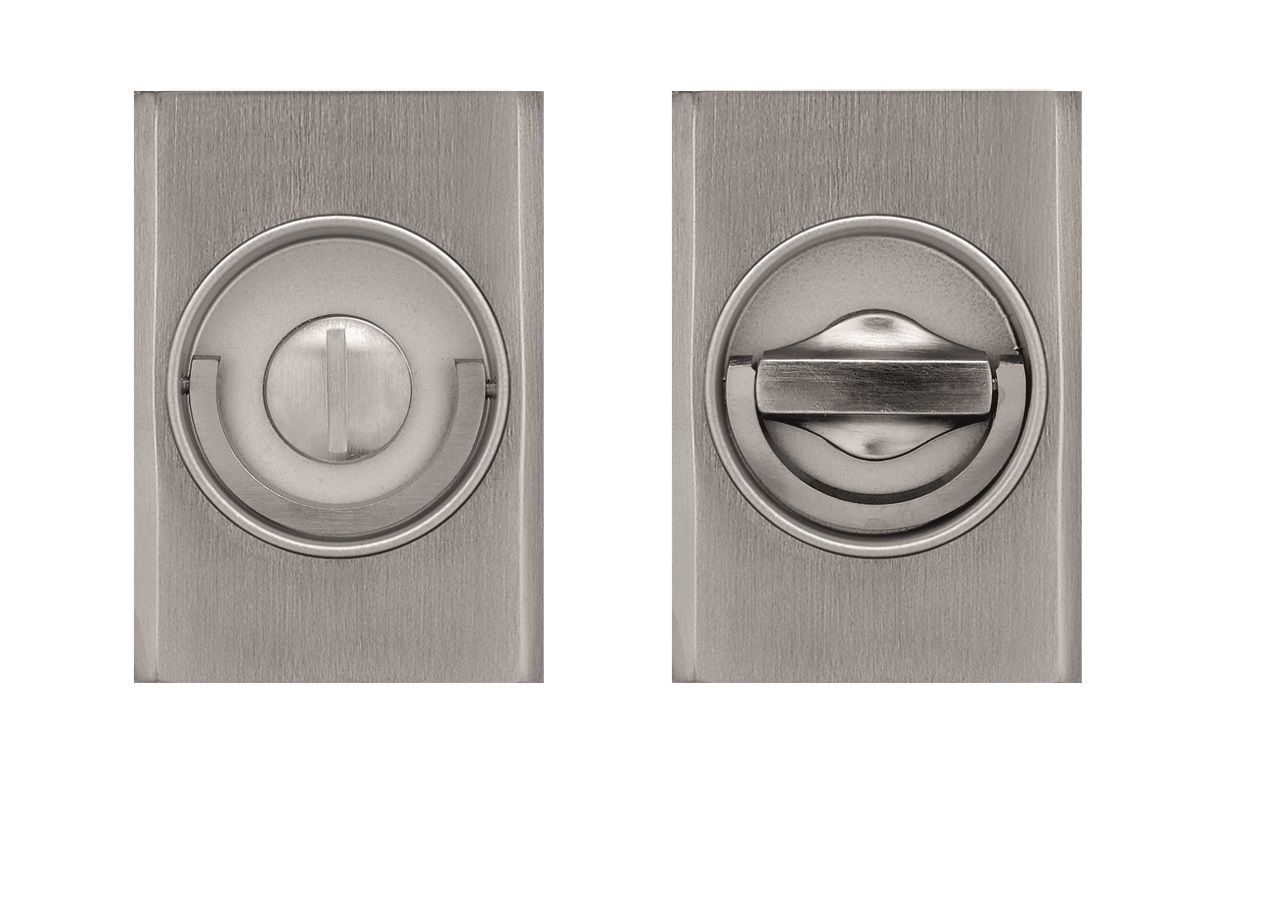
- or a pull handle.
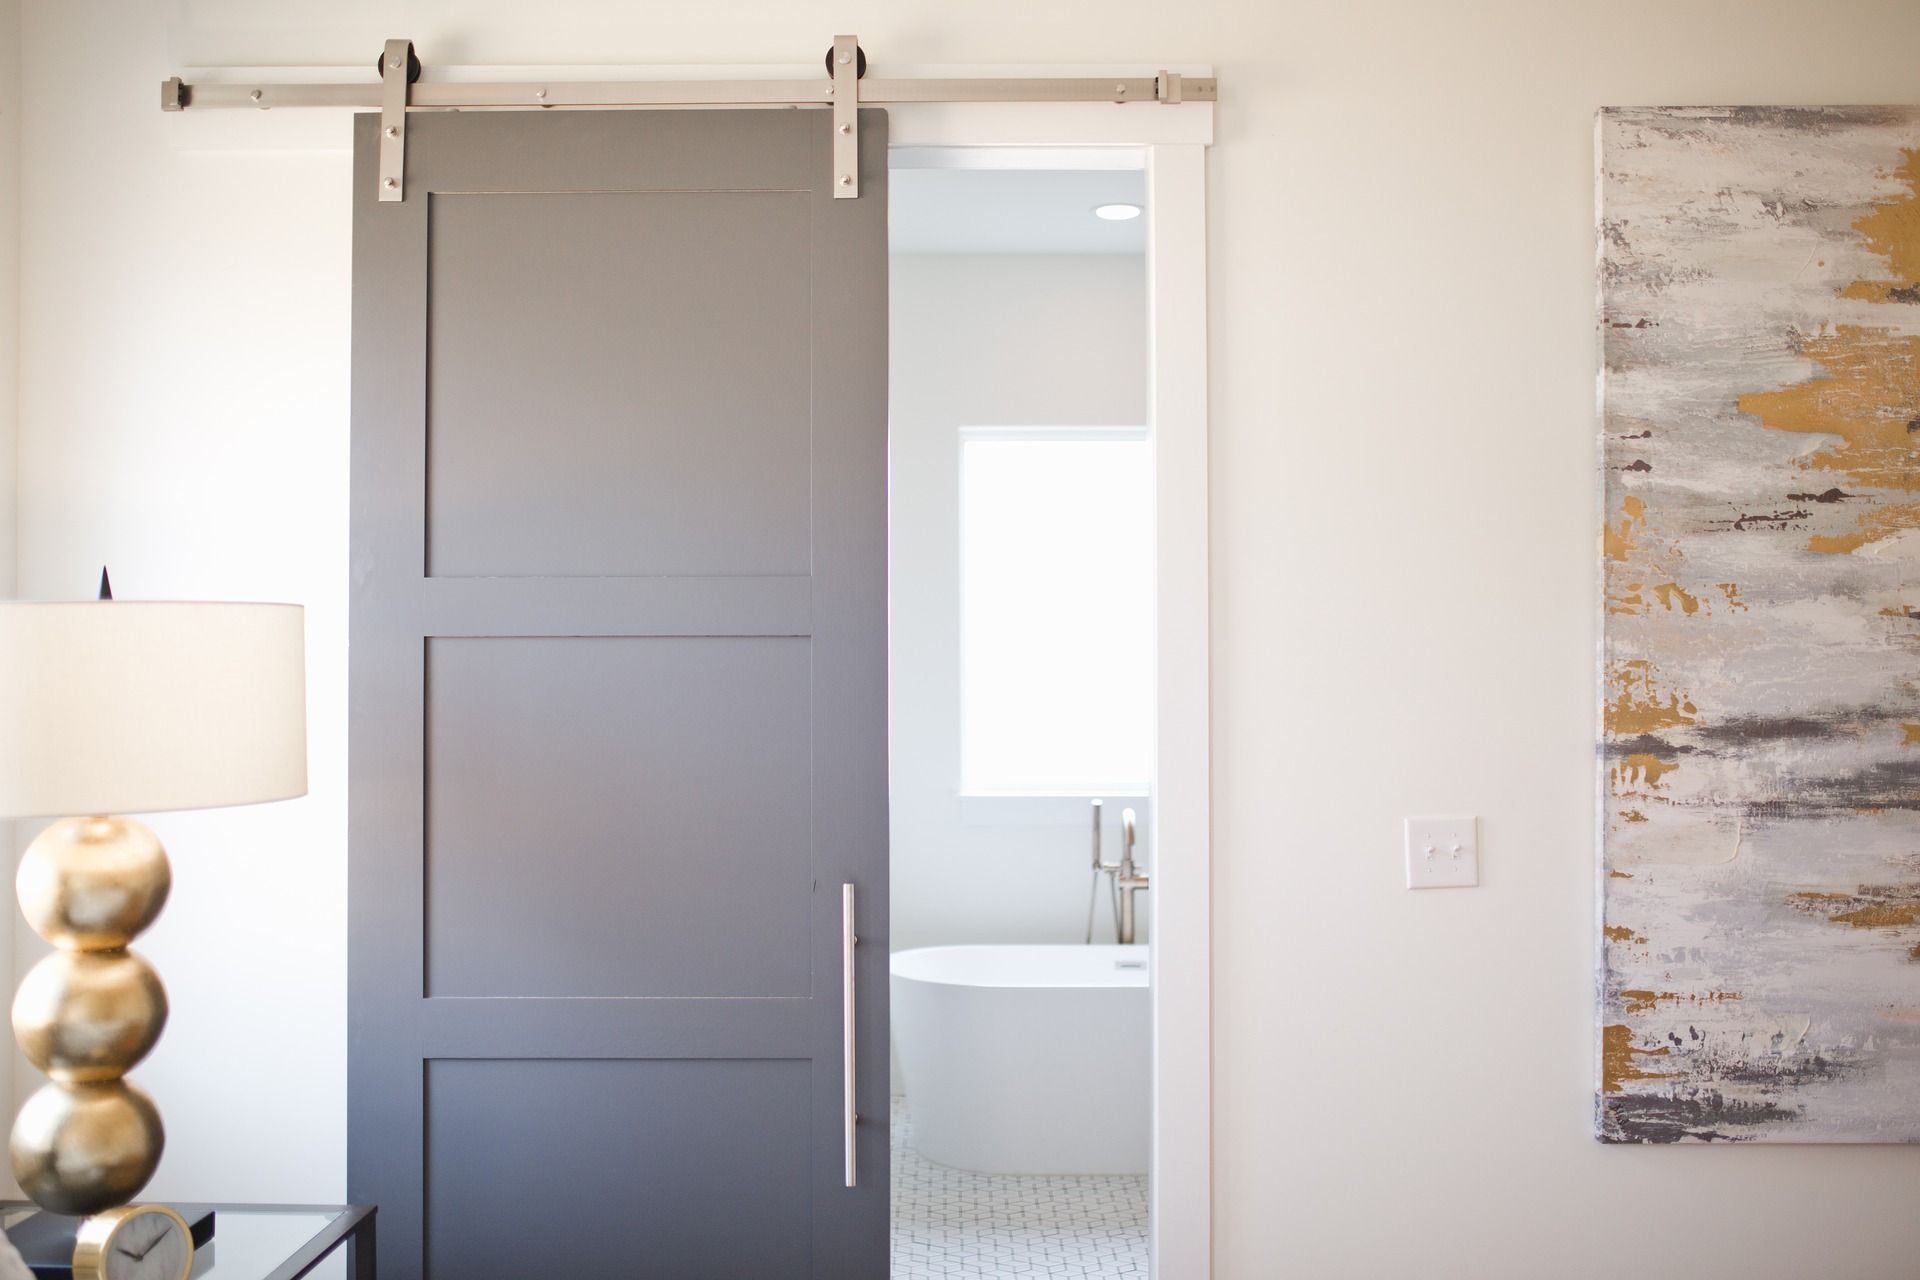
Don't forget to take into account the materials used, such as stainless steel, aluminium, bronze, nickel, brass, zamak, etc. Each material offers unique aesthetic characteristics that can perfectly complement your interior decoration.
Preparation before installation
For a successful installation, it is essential to prepare with the appropriate tools contained in the installation kit. Make sure you have a Phillips and flat-head screwdriver, a drill (if necessary), pliers, a spirit level and wedges to prop the door open. Before getting started, also take the measurements of the square spindle and the fixing centre distance to ensure that the new interior handle will be compatible with your door.
Removing the old handle
Before enjoying your new designer interior handle, it is time to say goodbye to the old one. To do this, open the door wide enough to be comfortable and prop it open with a wedge. Using a flat-head screwdriver, pop off the top plates of the handle and unscrew the fixing screws with an Allen key. If your old handle has a lock, also remove the privacy bolt with the help of pliers. Once the old handle has been removed, take the time to clean any marks left behind by the assembly.
Preparing the new holes
To replace an old handle with a new one, make sure to check the various dimensions to take into account at the time of fitting. For example, if you wish to replace your old worn handle with a new handle model with a more modern style, but with different dimensions, you will need to fill in the old holes before proceeding with the installation of the new handles.
Don't panic, we have a simple tip for you! Sand lightly around the hole with abrasive paper, then apply wood filler using a filling knife. Once the filler is dry, sand lightly to smooth the surface, and finally, apply one or two coats of paint to unify the finish.
Installing the new handle
It is time to move on to the installation of your new interior handle. To do so, prepare the necessary supplies and follow the steps below:
- 1. Position the plate and the square spindle facing the designated location.
- 2. Insert the through bolts into the respective holes.
- 3. You may need to drill new holes if the dimensions of the new handle differ. We will explain how to proceed with precision in this video.
- 4. Before tightening the screws definitively, make sure the handle and the strike plate are working correctly.
- 5. Check that the handle is working correctly and finalise the installation by tightening the screws.
No need to be a DIY expert — just follow our detailed instructions, and within a few minutes, you will have proudly installed your new interior handle.
Other door accessories
In addition to the handle, we would like to present you with other door hardware accessories for your door. You will be able to discover privacy locks for greater security and privacy:
- door stops to protect your walls and furniture,
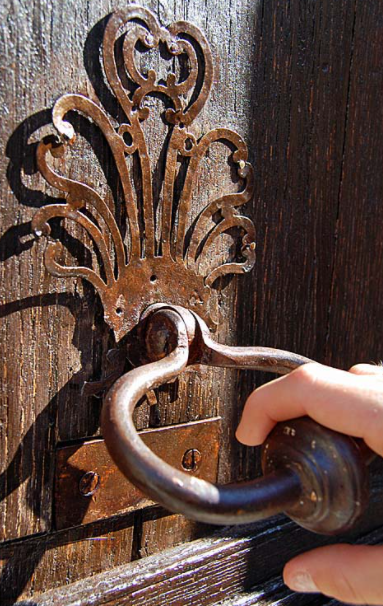
- door knockers or door hammers for a vintage look,
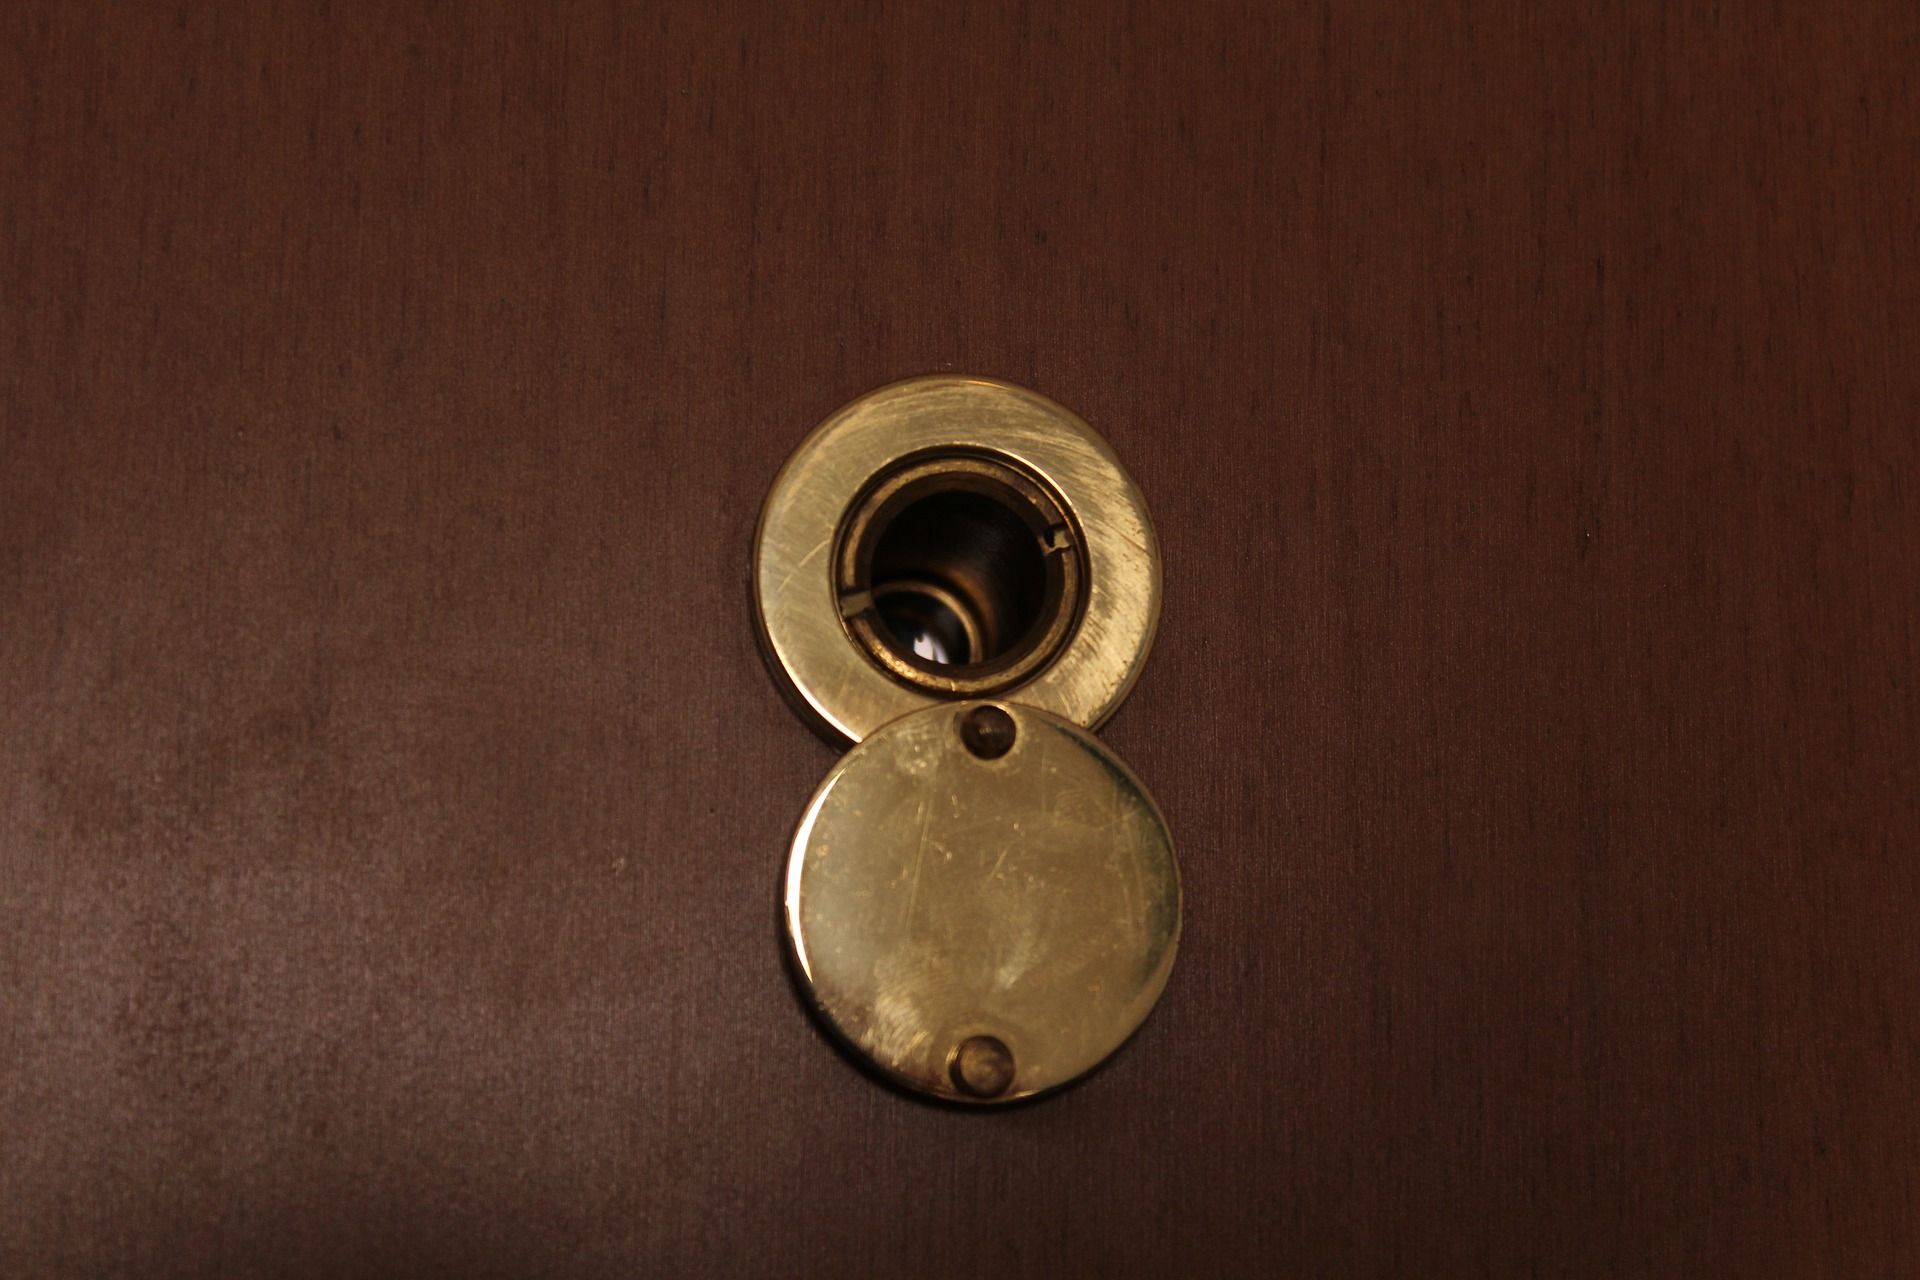
- as well as door viewers with modern versions fitted with video cameras.
Maintenance and upkeep of door handles
Once the installation is complete, it is important to regularly maintain your door handles to ensure their long-term proper functioning. Clean them with a soft cloth and avoid using harsh chemical products. Tighten the screws if necessary to prevent stability issues. If persistent problems arise, it is recommended to call a professional for repairs or a replacement if needed.
Decoration tips
Once the installation is complete, let your creativity speak and choose door handles that harmoniously complement your interior decoration style. Opt for finishes and materials that will enhance the ambiance of your home.
The secrets of a flawless lock installation
Whether you have in mind to replace the lock on your entrance door or simply to give your interior doors a fresh new look, it is crucial to understand the various elements involved. From the discreet sash lock to elegant furniture, from the pivot axis to the spindle, each part has its say in achieving a door that combines functionality and aesthetics. Let us not forget that the material used (aluminium, brushed stainless steel, polished brass or chrome) also plays a non-negligible role in the final appearance of your door.
A dive into the world of locksmithing
The world of locksmithing, with its technical vocabulary and countless parts, can seem somewhat daunting. From the lock to the cylinder, via the furniture and the rose, each component has its importance. You may need to replace a damaged barrel, install a robust multipoint lock to strengthen security, or simply change the handle of a window for aesthetic reasons.
How to choose the right lock
Locks are fundamental elements of doors, whether entrance or interior. The choice is vast, from the simple latch to the high security offered by multipoint locks. For an entrance door, you could opt for a mortise lock or a surface-mounted lock, depending on your specific needs. For interior doors, a simple sash lock or a latch bolt could do the job.
Focus on the lock cylinder
The lock cylinder, sometimes called a barrel, is the very heart of the lock. It is the part that, activated by the key, allows the door to be opened or closed. There are different cylinder models, from the simplest to the high-security model certified A2P. The choice of your cylinder will depend on the level of security you require for your door.
The spindle and the bolt: two essential components
The spindle is the segment of the door handle that passes through the hole in the door and activates the locking mechanism. The bolt, for its part, is the part of the lock that moves to open or lock the door. To ensure smooth opening and locking, make sure these two parts are in good condition and functioning correctly.
The art of lock installation
Installing a lock requires a certain level of skill and some DIY tools. Before getting started, make sure you have a pencil to mark the position of the holes to drill, a drill to do the work, a saw to cut out the recess for the lock and a screwdriver to fasten. Follow the manufacturer's instructions carefully and take the time needed to achieve a flawless installation. If this kind of work makes you uncomfortable, do not hesitate to call a professional locksmith.
Congratulations! You have successfully completed your interior handle installation thanks to our tips and tricks. We hope this article has been useful to you and has given you the confidence to undertake your DIY projects. You will be able to transform the appearance of your home while improving the functionality of your doors. At Milla Poignées, you can find the installation manual in the product sheets of each handle under the "attachment" tab.
Choose handles that reflect your personal style and don't hesitate to contact us if you have any questions or need further advice. Happy DIY-ing and see you soon!
Comments
No comments yet!
Leave your comment