


.jpg)
.jpg)

DIY: Installing a door rose for a WC easily
Simple steps to install a WC door rose
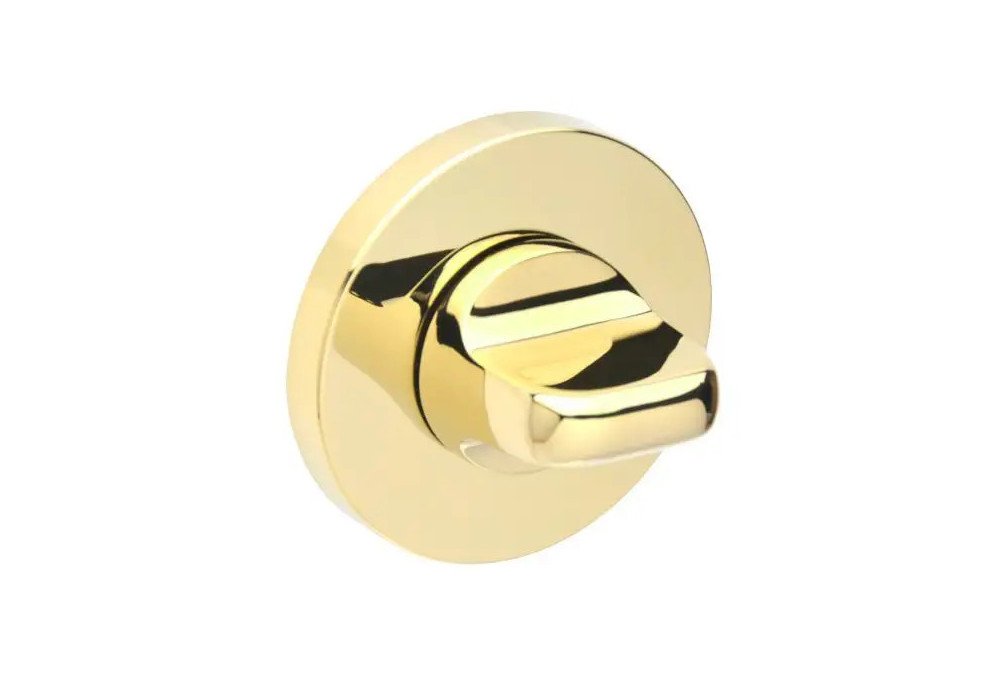
Simple steps to install a WC door rose
Would you like to add an elegant functionality to your WC? Often overlooked, the door rose can truly make all the difference. Discover the process of installing the WC rose with a tutorial and useful tips, as well as the importance of the 4mm to 6mm adapter for a perfectly adjusted installation.
Choosing the door rose and adapter
The rose and the adapter are two key elements for the aesthetics and practicality of your door. Take the time to carefully select these elements, as they are the guarantee of a lasting installation.
The right rose to enhance your space
Harmony in interior decoration begins with thoughtful choices. Before proceeding with the installation, it is essential to understand how to choose the ideal rose to enhance your interior. Opt for a rose that matches the style of your WC. Whether you prefer a modern, classic or vintage style, there is a perfect rose for every taste. If your WC features a modern style, you can, for example, opt for a minimalist stainless steel rose. For a more classic atmosphere, you can choose a brass rose to add an elegant touch.
Choosing a door rose is not just about its appearance, but also encompasses its functionality. Make sure the chosen rose fits your door and provides the necessary security and stability. Consider durable materials for increased longevity, and take into account the specifics of your interior décor for a seamless integration of the rose into the overall room. This way, you can not only enhance the aesthetics of your WC but also guarantee optimal functionality of your door rose.

4mm to 6mm adapter: dimensional flexibility
The adapter is a valuable element in the process of installing a door rose. Its versatility provides an ingenious solution to challenges related to different door thicknesses. Let us take the example of a WC door with a thickness of 35 to 40mm. In this context, the adapter allows the rose to be adjusted with precision for a flawless installation. At Milla Poignées, we offer you a 4mm to 6mm adapter for the 4mm square WC spindle. This adapter will allow you to use the 4mm spindle system with a French 6mm lock.
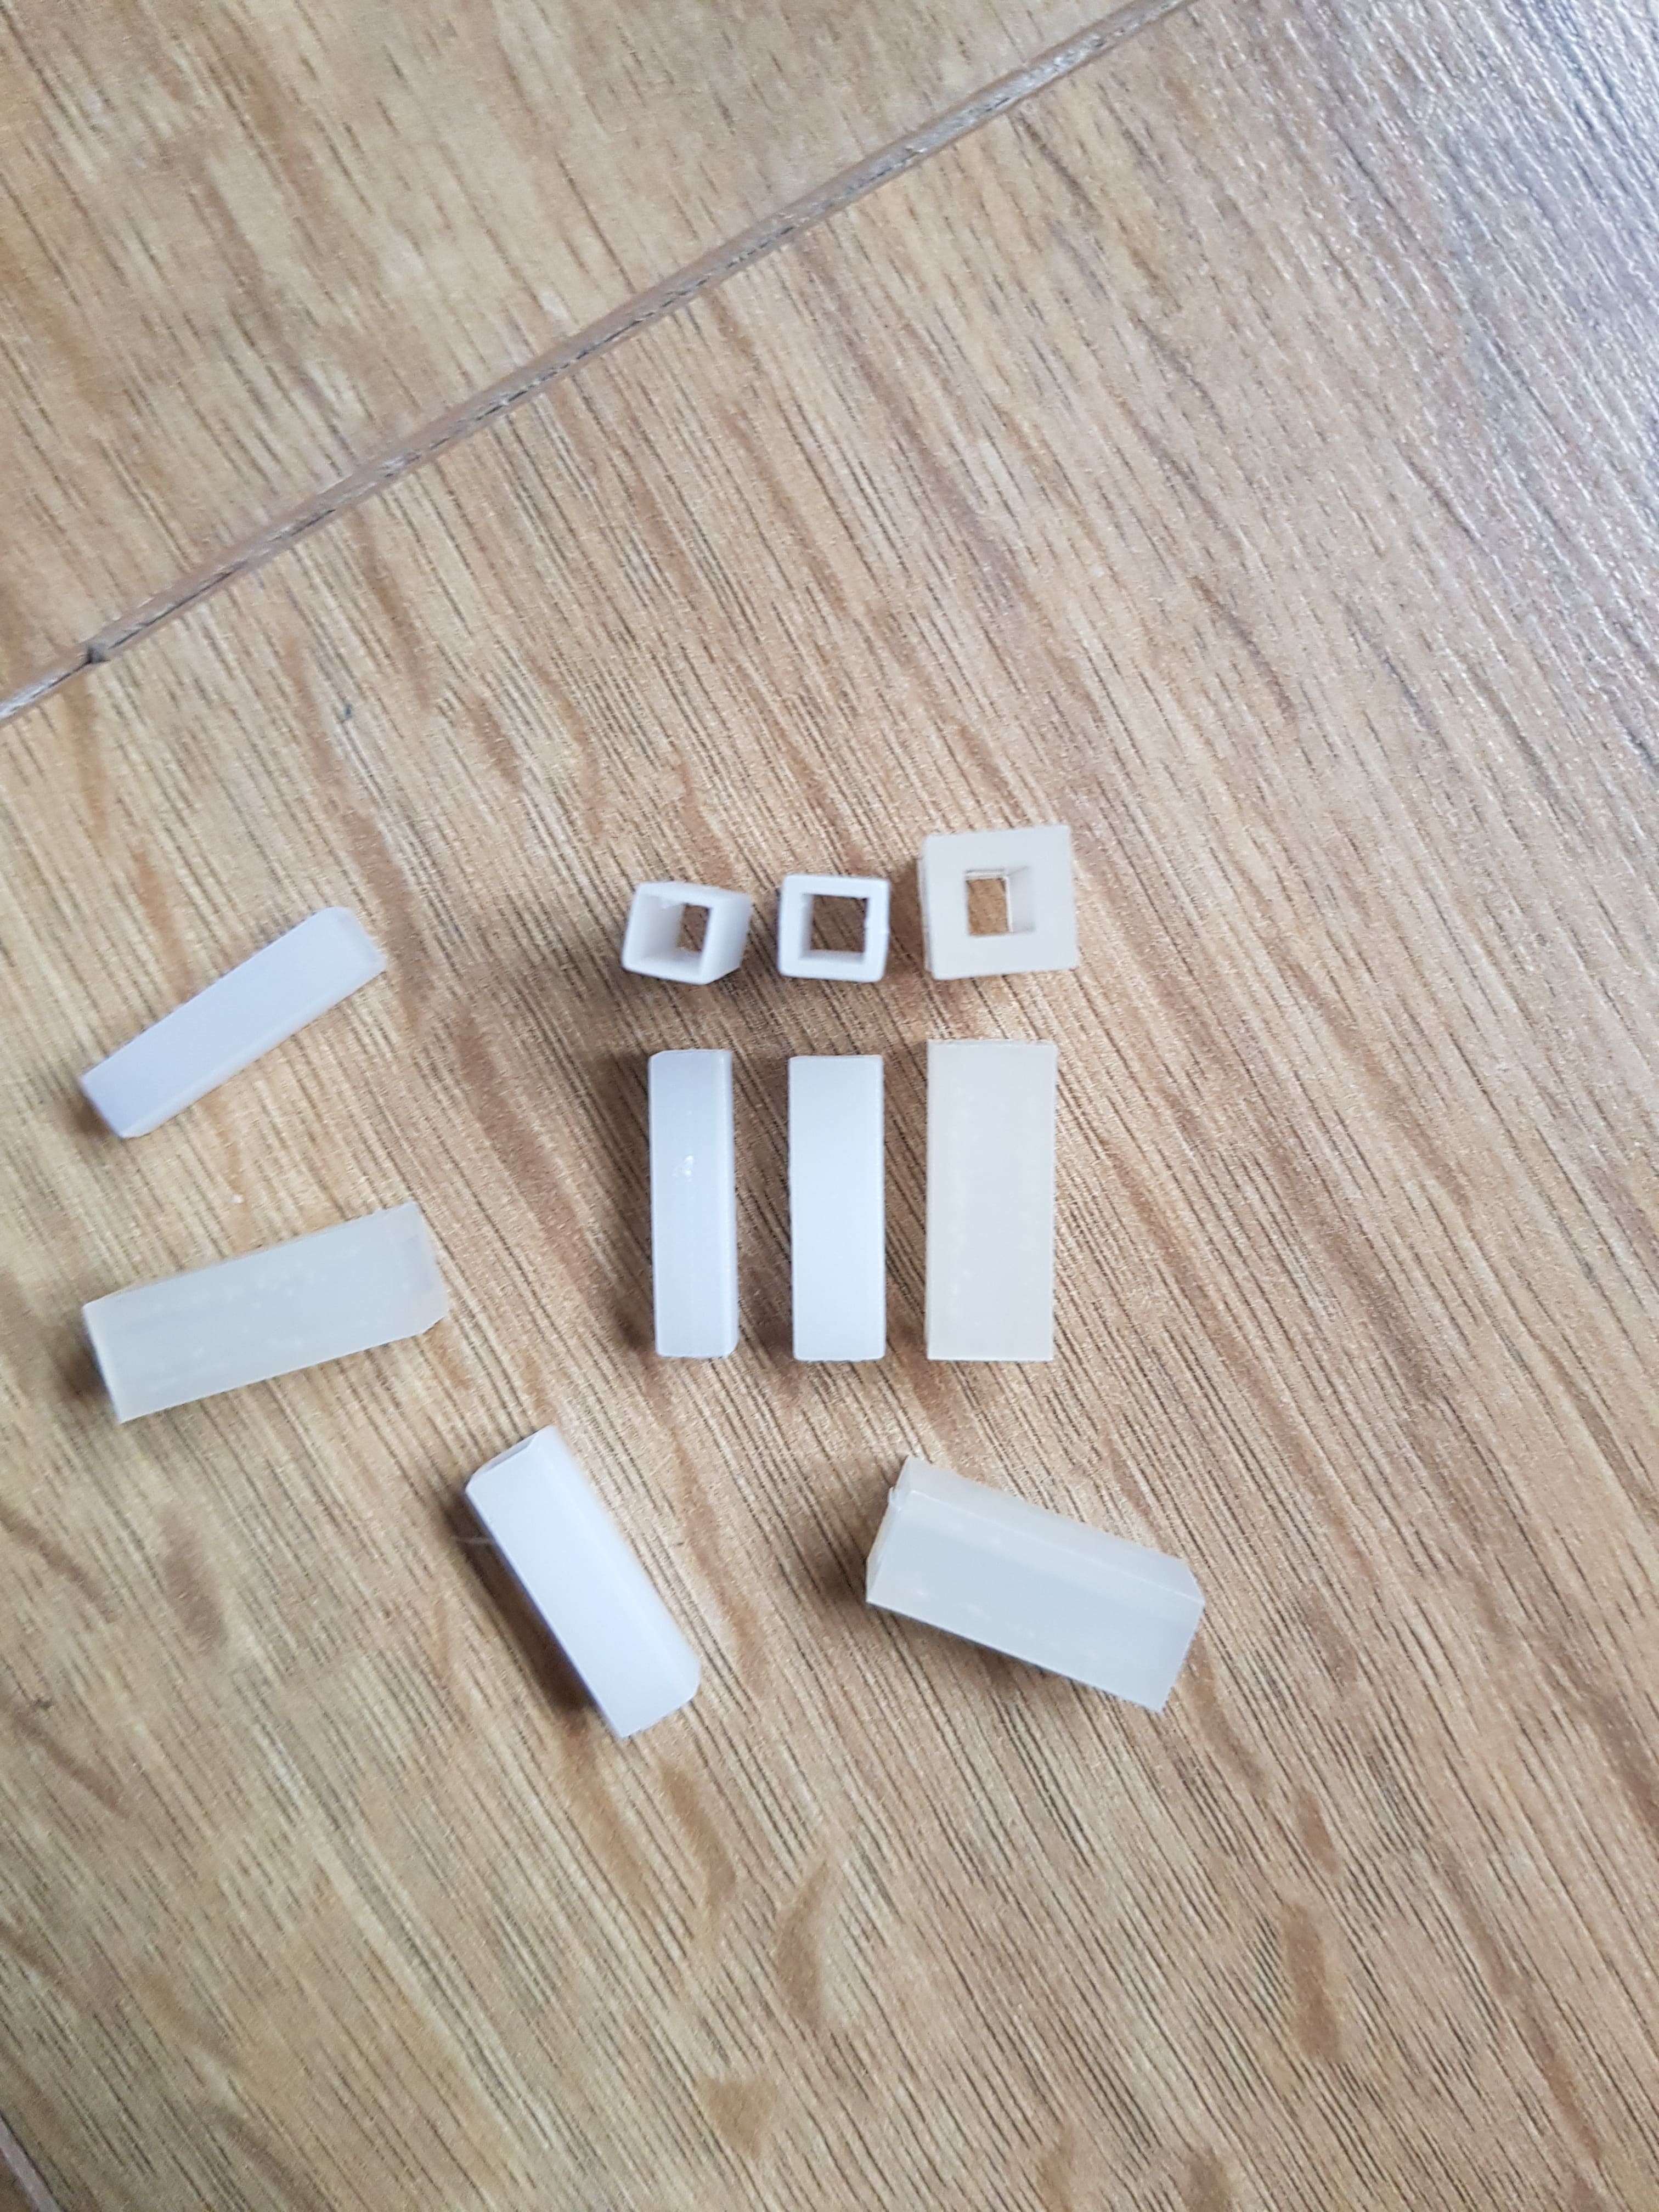
Step-by-step guide for installing a WC door rose
No need to be a DIY expert! Installing a door rose is within everyone's reach. But before starting the process, it is useful to prepare for an optimal result.
Preparation and necessary tools
The first step in installing a door rose for your WC is adequate preparation. Whether you are a DIY enthusiast or simply discovering this world, a methodical approach will greatly facilitate the process.
- Check the compatibility of the rose: make sure the rose you have chosen is compatible with your door. Check the dimensions and ensure it fits perfectly.
- Prepare the necessary tools: gather essential tools such as a drill, a screwdriver, a tape measure, a pencil, and possibly a spirit level. Make sure the batteries are charged to avoid interruptions during the process.
- Take measurements: use a tape measure to take precise measurements of the location where you wish to install the rose. Also take into account the ideal height for optimal aesthetics.
- Prepare the space: clear the area around the door. Remove any objects that could hinder the installation process. This will make it easier to manoeuvre tools and ensure a smooth installation.
Fitting the rose to the WC door
Once you have prepared, here are the steps to follow for fitting the rose to your WC door:
- Start by positioning the rose at the desired location, generally at handle height, for optimal aesthetics. Make sure the 4mm to 6mm adapter is properly in place. Take care to align the rose correctly before beginning the fitting. This ensures a balanced and visually pleasing arrangement. Use a spirit level to ensure the rose is perfectly straight.
- Carefully mark the screw positions with a pencil, then proceed with drilling. Use a drill suited to the material of your door. If your door is made of wood, a wood drill bit will be suitable, while a hammer drill is recommended for metal doors.
- Secure the rose by screwing in the provided screws. Make sure the rose is firmly fixed to the door to avoid any unwanted movement.
- After installation, check the alignment and stability of the rose. Make sure it has no play and that the door opens and closes correctly. If necessary, adjust the position and tighten the additional screws.
- Once the rose is firmly in place, appreciate the final result. Carefully clean any pencil marks or drill traces for an impeccable finish.

Care tips and additional advice
Now that your space has gained in elegance, it is essential to know the best practices to ensure the longevity of your door rose.
For stainless steel door roses, a soft cloth and a non-abrasive cleaner are ideal for preserving their shine. On the other hand, if your rose is made of brass, opt for a specific brass cleaner to avoid any damage.
Whatever the material of your rose, avoid harsh cleaners that could alter its finish. In addition, make sure to dry the rose thoroughly after cleaning to prevent any moisture-related issues. For bathrooms, where humidity can be more present, apply simple tips such as regular ventilation of the room or the use of dehumidifiers to protect your rose from the harmful effects of moisture.
You now have all the keys to successfully install your WC door rose. Feel free to share these valuable tips with other DIY enthusiasts. Opt for excellence in the details, for that is where true beauty lies.
Comments
No comments yet!
Leave your comment